
It’s easy to get started with the Arduino. In this article, we will see how to download, install, and configure the Arduino IDE. We will also see how to write a basic Arduino program and how to upload a program to the Arduino.
The Arduino IDE
The Arduino IDE is a software program that is installed on your computer. Arduino programs are written in the IDE, which resembles a text editor. When the code is ready, the code is uploaded the Arduino board. Before uploading, the IDE checks the code for errors, then compiles (converts) it into instructions the Arduino can understand. The code is then transferred to the Arduino over a USB cable.
The Arduino IDE is free to download and installing it is easy. Just follow the instructions below and you’ll be uploading programs to the Arduino in no time.
Download the Arduino IDE Installation Files
The Arduino IDE is a free download from the www.arduino.cc website:
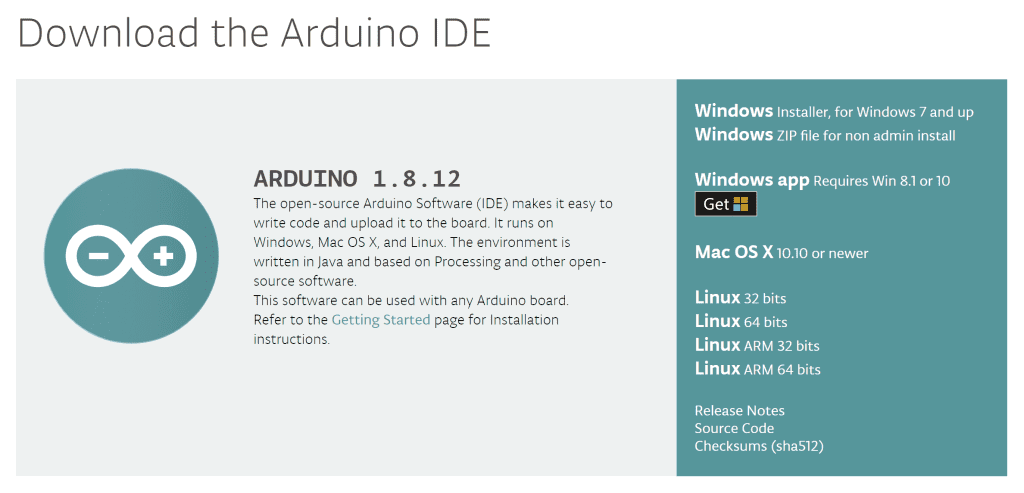
If you have a Windows system, download the Windows installer package. This will install the IDE on your computer just like any other program. However, this will only work if you have permission to install programs on your computer.
If you don’t have permission to install programs on your computer, download the Windows ZIP file for non-admin install file. This will keep the program files in a folder without actually installing them. The IDE can be opened by clicking on the arduino.exe file inside the folder.
There is also a Windows store app, which works just like the other versions. For Mac users, download and install the file for Mac OS X. Linux users can download the file for 32 bit, 64 bit or ARM systems.
Install the Arduino IDE
1. Download the proper installation file from www.arduino.cc. Note: the steps below are for a local install on Windows.
2. Save the .exe file to your hard drive.
3. Open the .exe file.
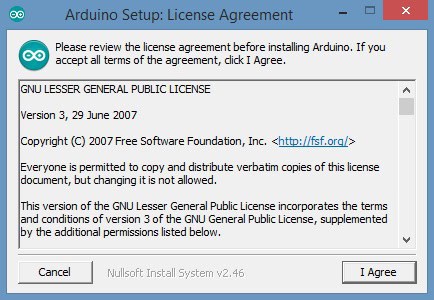
4. Click the button to agree to the licensing agreement:
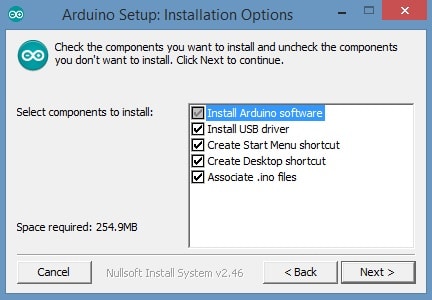
5. Decide which components to install, then click “Next”:
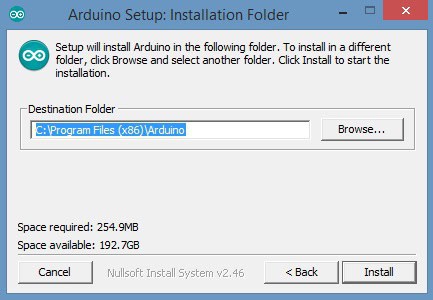
6. Select which folder to install the program to, then click “Install”:
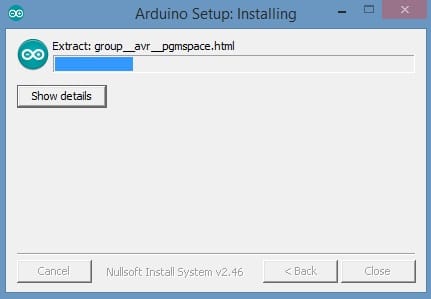
7. Wait for the program to finish installing, then click “Close”:
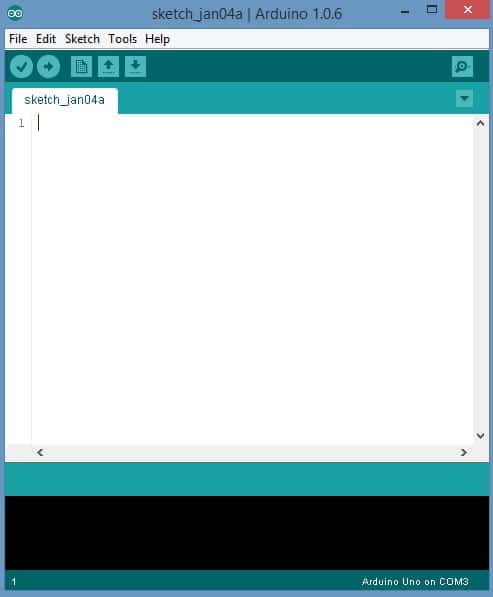
8. Now find the Arduino shortcut on your Desktop and click on it. The IDE will open up and you’ll see the code editor:
How to Configure the Arduino IDE
After the IDE is installed, the first thing to do is set the board type to the model of Arduino you’ll be using. Sketches need to be compiled differently depending on the microcontroller. Setting the board type tells the IDE which microcontroller your Arduino has so it can compile the sketch accordingly.
To set your board type, go to Tools > Board, and choose the model of Arduino you have. For example, if you have an Arduino UNO choose Arduino/Genuino UNO:

Now we need to tell the IDE which USB port to use for sending data to the Arduino. The Arduino needs to be connected to the computer with a USB cable to do this. Once it’s connected, go to Tools > Port and select the COM port that has your board type next to it:

That’s all the configuration that needs to be done.
Example Sketches
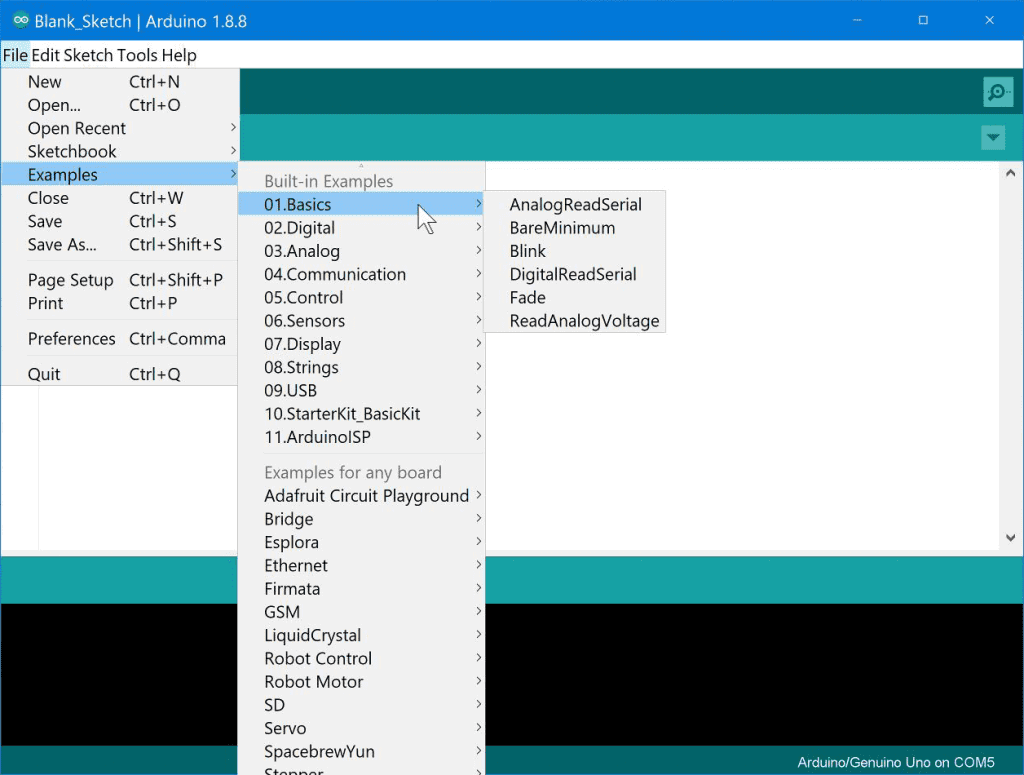
There are lots of good example sketches that come with the Arduino IDE. These are pre-written programs that can be used to do things like blink LEDs, control servos, and write to LCD displays. To find the example sketches, go to File > Examples:
How to Write an Arduino Program
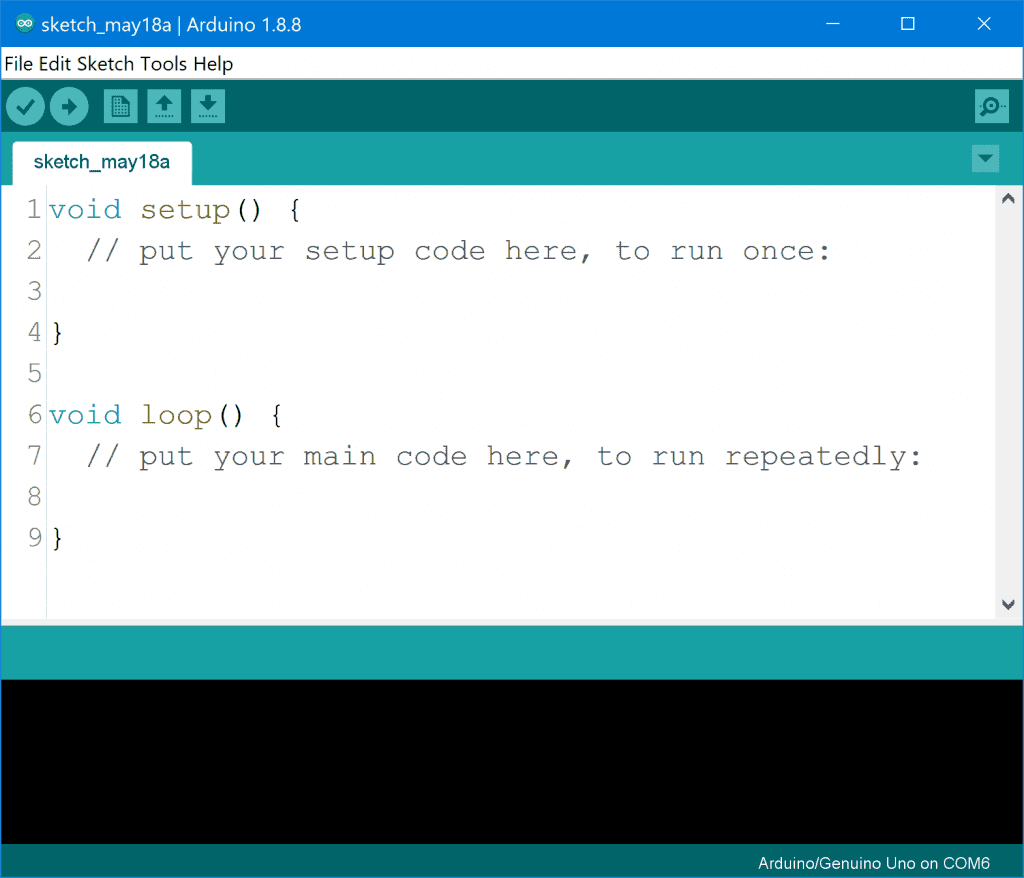
Every Arduino sketch needs a setup() function and a loop() function to work properly.
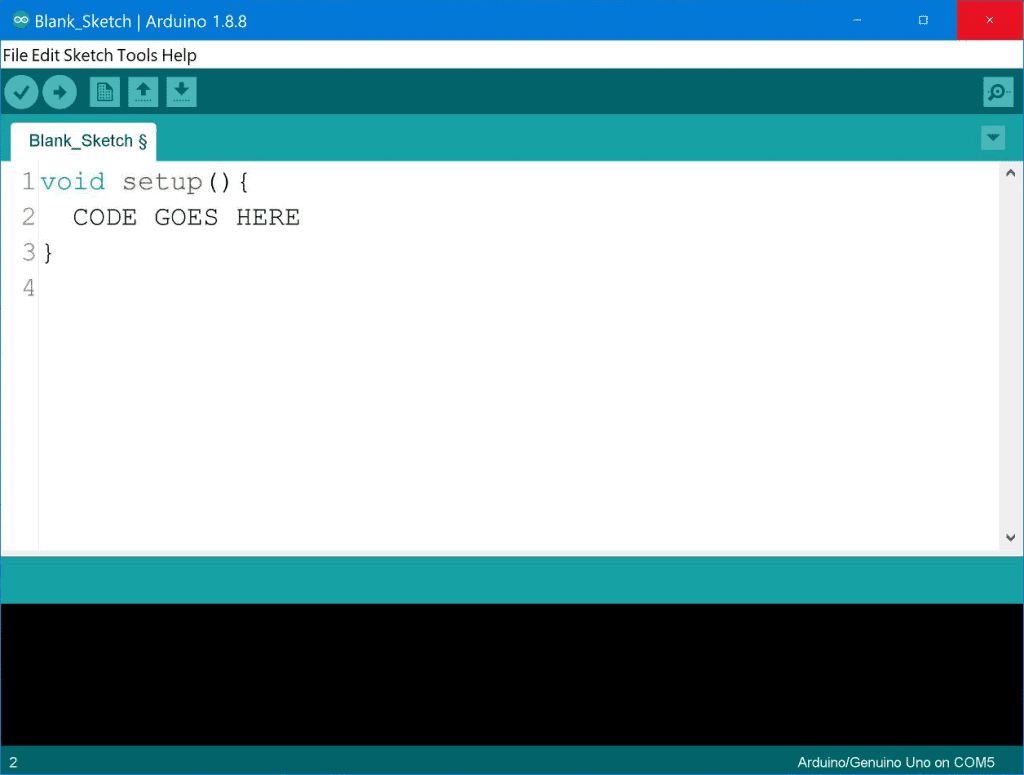
The setup() function is executed only once, when the program starts. This is where we put code that doesn’t change throughout the program, like the code for setting pins as inputs and outputs, initializing the serial monitor, and initializing sensors.
In the sketch, the setup() function is always placed before the loop() function:
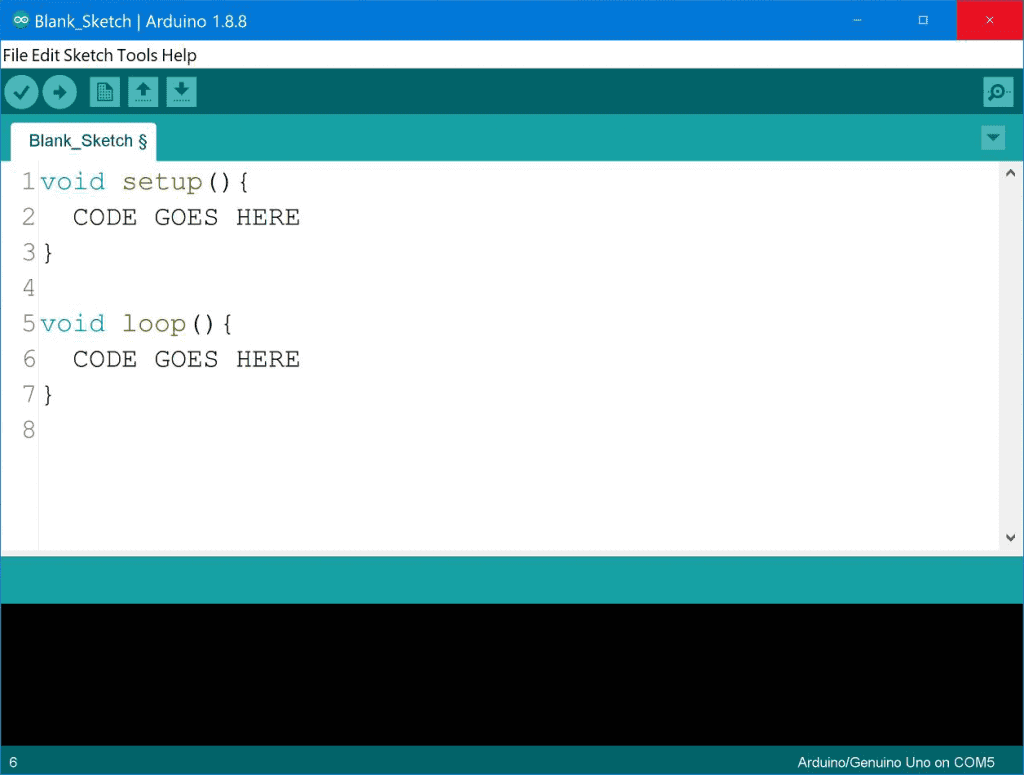
The other essential part of every sketch is the loop() function. The loop() function is the main part of the sketch, where most of the code will go. The code in the loop() function is executed over and over again in an infinite loop.
The syntax for the loop() function is similar to the setup() function. The code you want to run in the loop goes inside the two curly brackets:
When the Arduino runs this sketch, the code in the setup() function will be run once, then the code in the loop() function will be run over and over until the power is shut off or we give it a command to exit the loop.
How to Write Comments
Comments are pieces of text in a program that do not get executed. They’re a good way to keep notes and make it easier for other people to understand your code.
There are two ways to make a comment. The first way is to type two forward slashes (//) before the text you want to be a comment:
void loop(){
  // this is a comment
}
Any text after the // is ignored by the Arduino when the program is run.
Multi-line comments can be made by typing a /* followed by a */ like this:
/*
 * this is a multi-line
 * comment
 */
Any text between the two asterisks will be recognized by the IDE as a comment. Multi-line comments are usually used at the beginning of a sketch to explain how it works and how to connect any external devices.
How to Upload Your Sketch to the Arduino
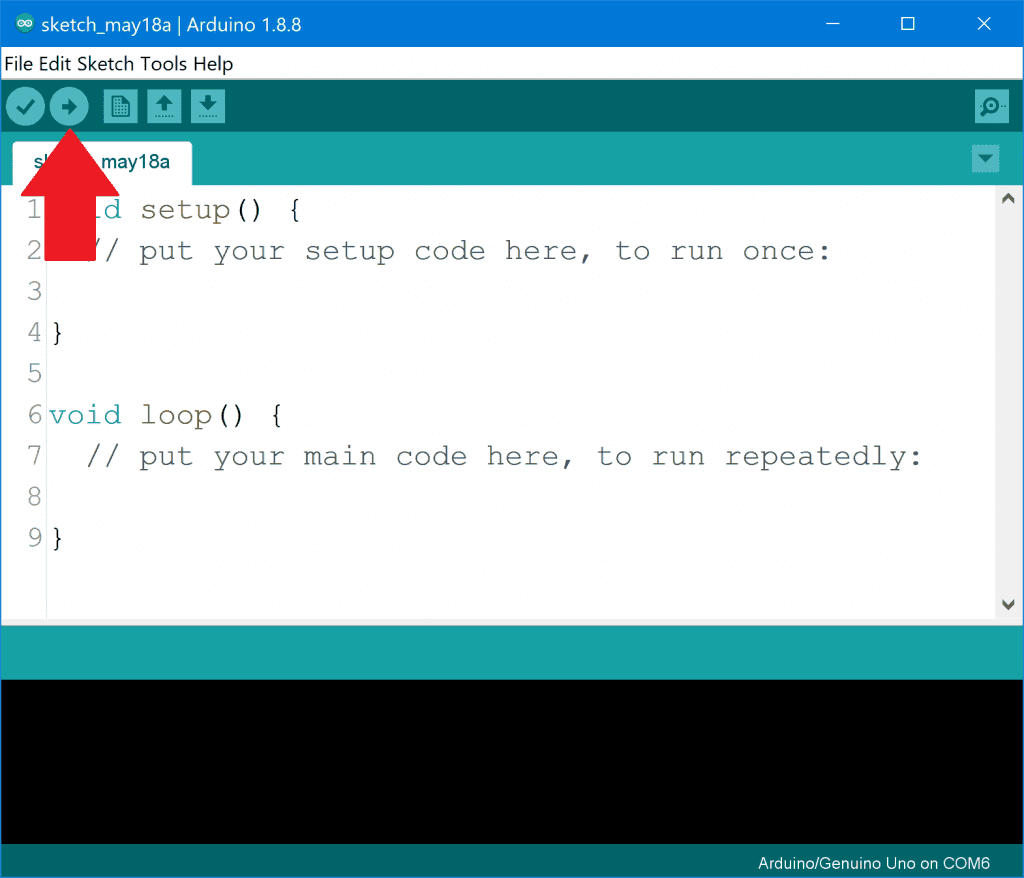
After the sketch has been written, the next step is to upload it to the Arduino. To upload a sketch, click the arrow button in the upper left side of the window:
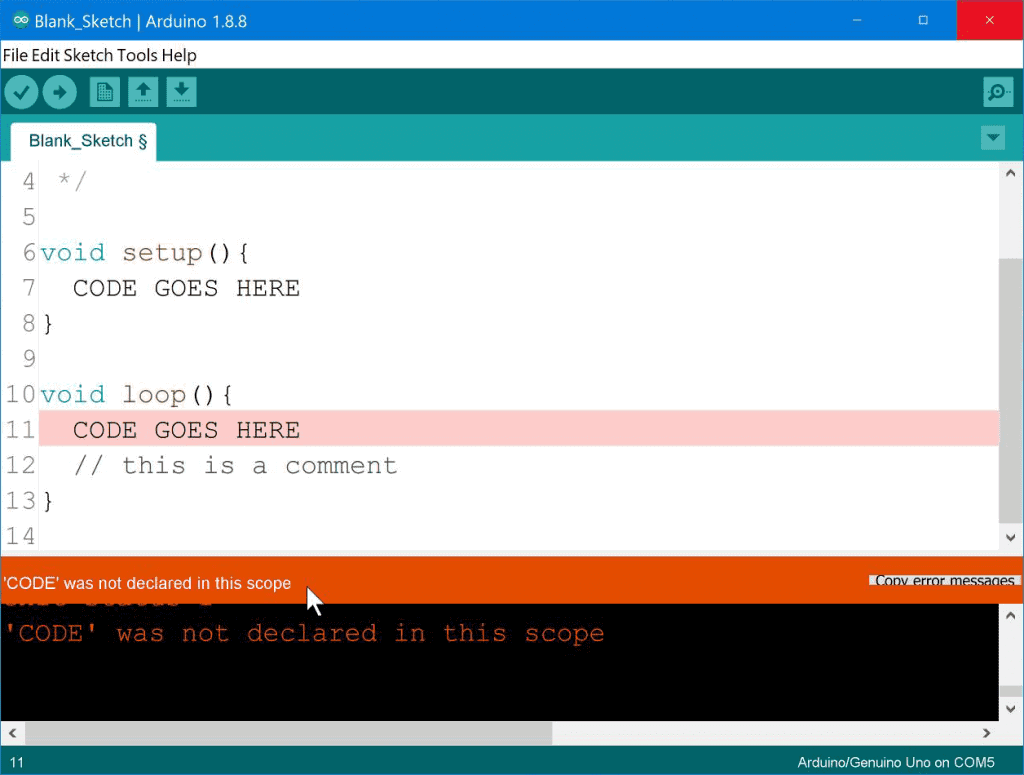
The IDE will then verify your code by checking for any typos or syntax errors. If it finds an error, it will let you know with an orange error message like this:
If the code is correct and free of any errors, the IDE will compile the sketch. Compiling is the process of converting human readable code like C and C++ into machine readable code that the microcontroller can understand.
After the sketch has been compiled, the IDE transfers the code through the USB port to the Arduino where it is saved in the ATMEGA328’s flash memory. The sketch starts running right away and keeps running until the power is removed.
The sketch is saved in the Arduino’s flash memory, so it will stay in memory even after the power has been removed. The next time the Arduino is powered on, the same sketch will start running again.
Next Steps
Play around with the example programs and try changing parts of the code to see what happens. But if you want to learn programming as a skill, it’s best not to rely too much on these examples in your projects. You’ll learn much more by experimenting and writing your own code from scratch.
A good way to learn programming is to get a book and work through the example projects. A great book for both beginning and advanced Arduino users is the Arduino Cookbook by Micheal Margolis. It is a handy resource, and covers almost everything you can do with the Arduino from a programming perspective.
When you’re ready, check out the next article in this series, Getting Started with the Arduino – Controlling the LED (Part 1), to see how to use the Arduino to change the blinking rate of an LED.
Hopefully this article has helped you out! Leave a comment below if you have any questions, or need help setting it up. And be sure to subscribe to get an email when we publish new articles!


Hi, Thank you for the clear instructions for installing the IDE. Well written with the end user in mind.
Thanks!