In this article, we will look at some parts and supplies that will help you get started working with the Arduino. We’ll start by taking a look at a few of the different Arduino boards that are available, then look at the basic tools and components that should be in every Arduino builder’s toolbox.
Watch the video for this tutorial:
Types of Arduino Boards
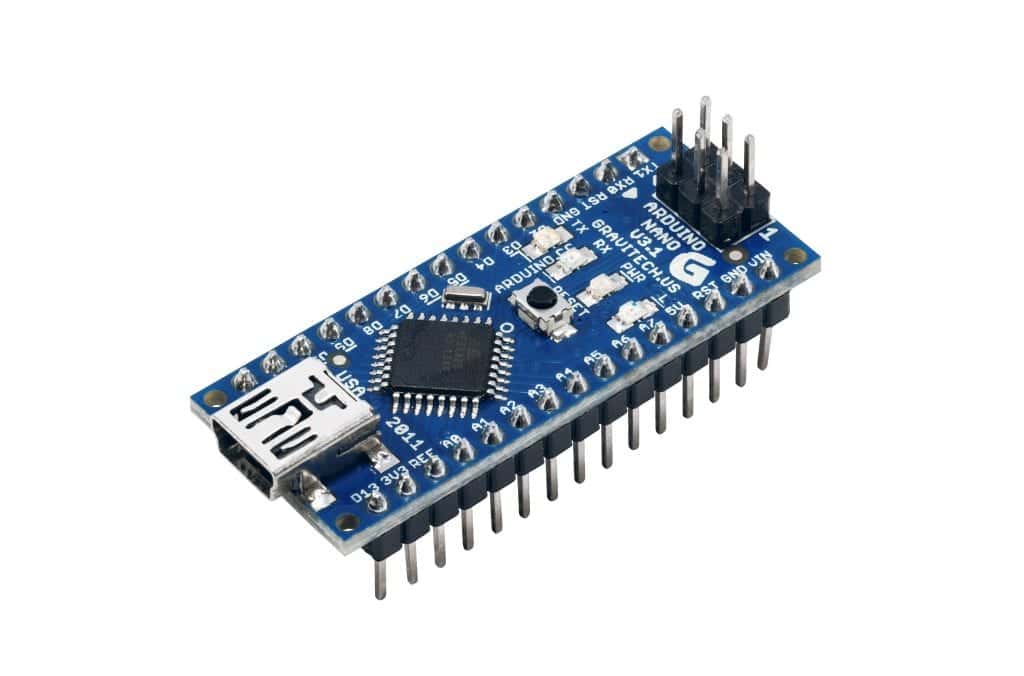
The Arduino Nano is the smallest Arduino, and is best for projects where size or weight is a concern:
The Arduino Mega is the largest Arduino and has more pins and features than the other types:
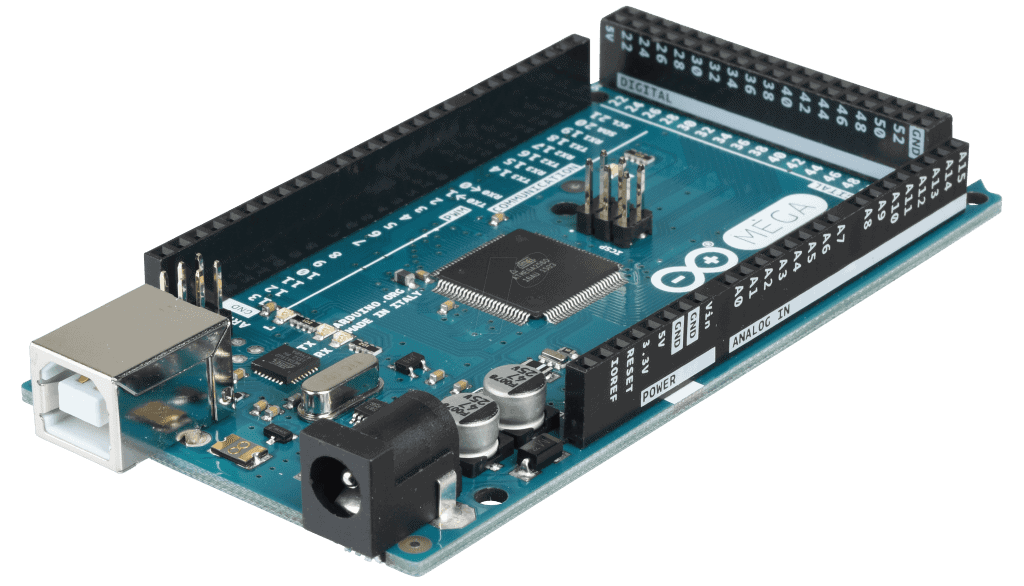
There are many other models, each with its own pros and cons. Check out the arduino.cc website to compare the features of each model and find the best fit for your project.
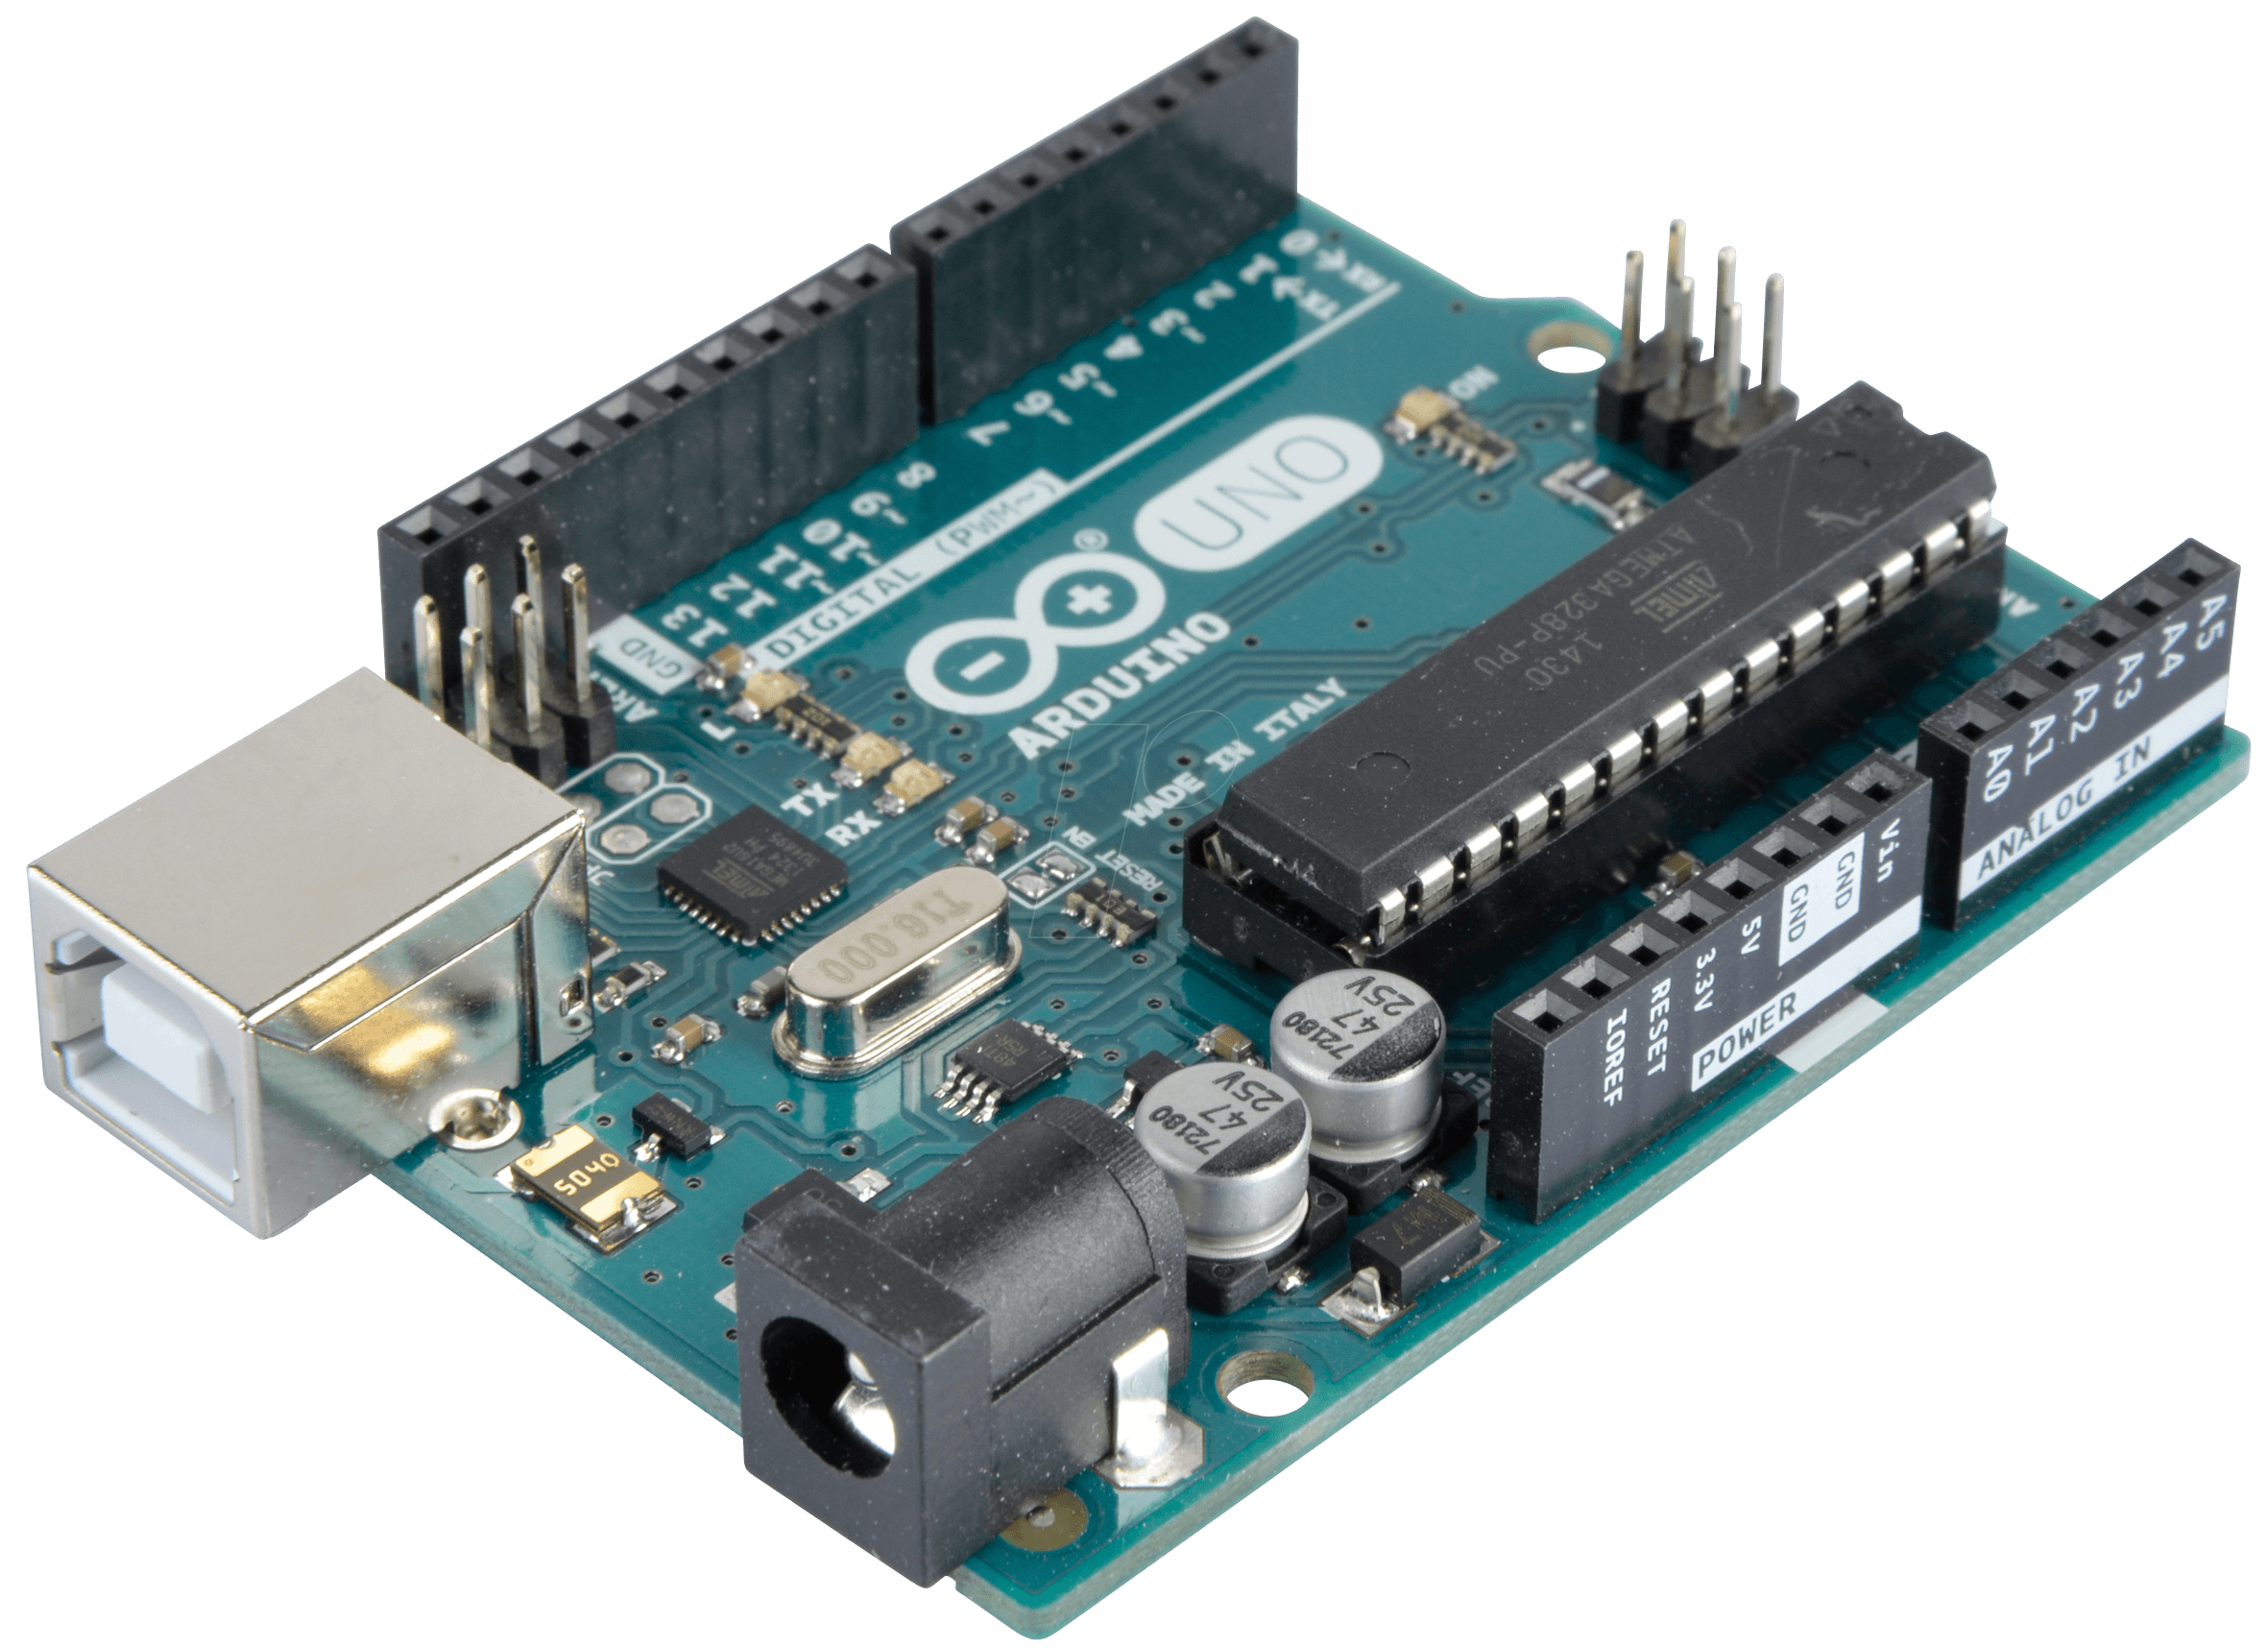
But if you’re just starting out, go for the Arduino Uno:
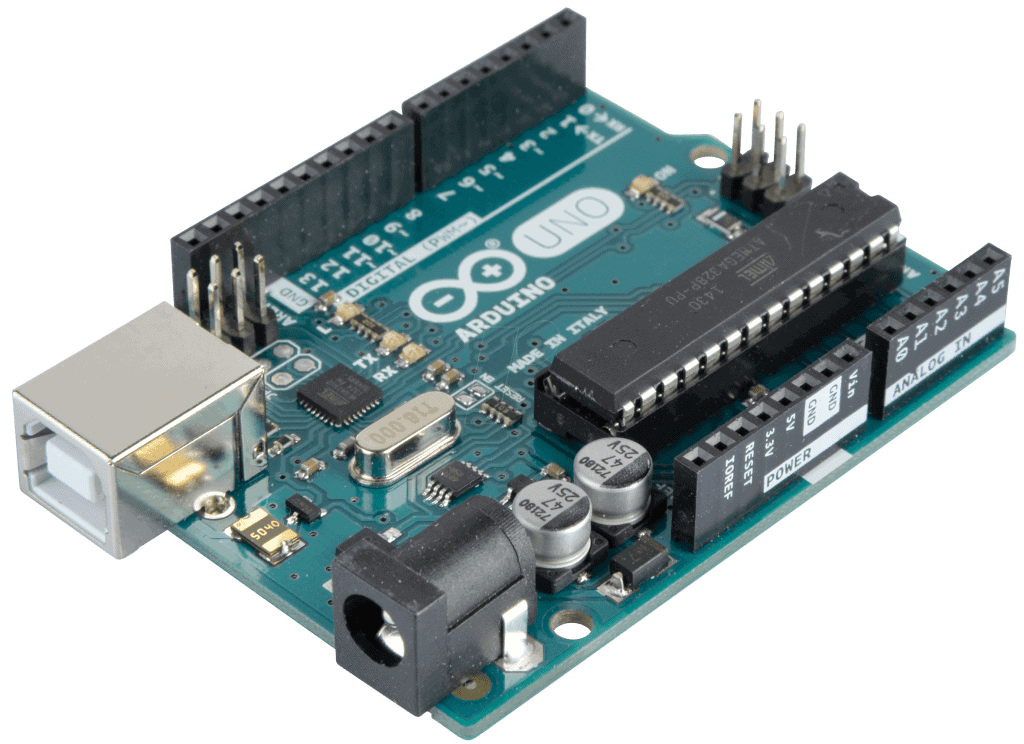
The Arduino Uno is the de facto Arduino board. It’s the most well documented and there are many resources, tutorials, and programs for the Arduino Uno available for free on the internet.
Breadboards
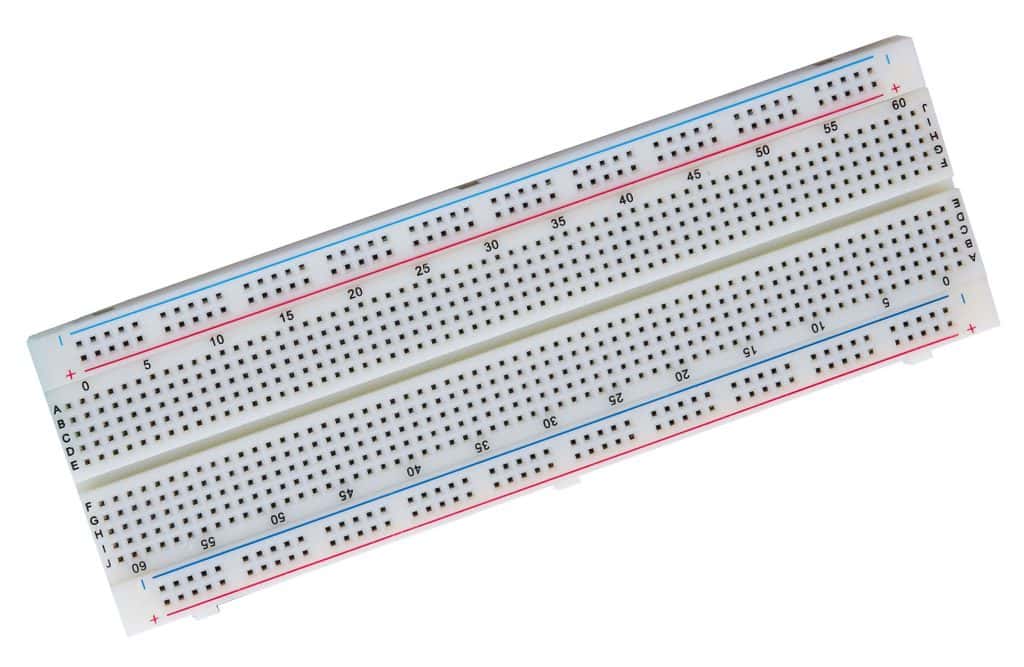
Solderless breadboards let you build circuits without soldering. The pins of a component can be inserted into the breadboard and connected to the Arduino with jumper wires.
Breadboards are available in a few different sizes. This is a full size breadboard:
This is a half-size breadboard:
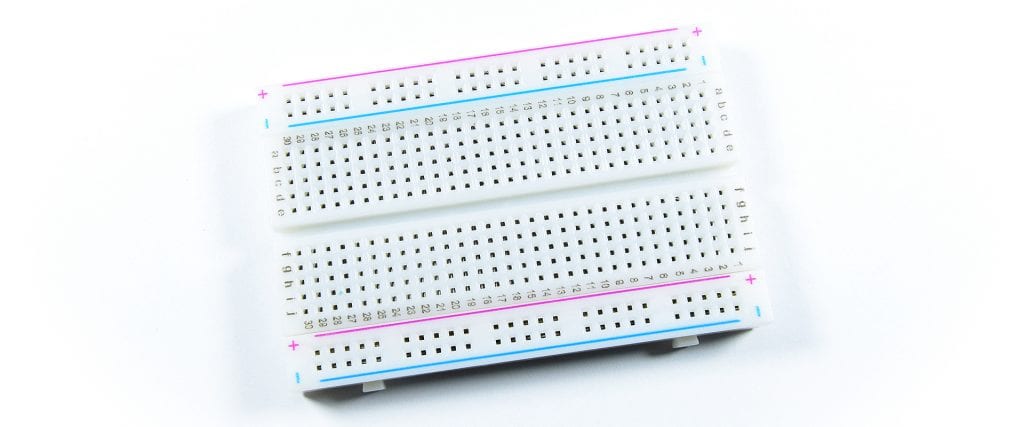
And this is a mini breadboard:

Jumper Wires
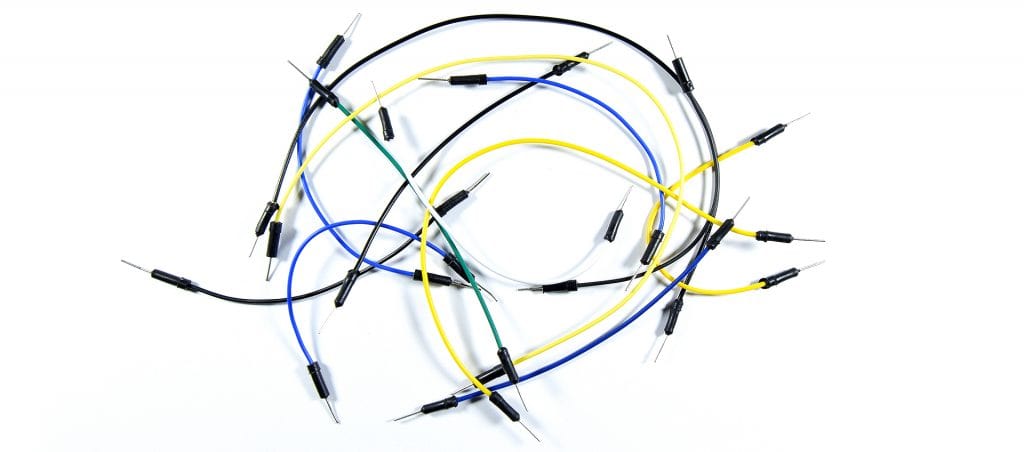
Jumper wires make it easy to connect components on a breadboard. They come in a variety of different lengths and colors. Some jumper wires have male pins on both sides, but they are also available with male and female pins. Jumper wires are also available as ribbon cables, which are useful for connecting devices with lots of pins.
Soldering Iron
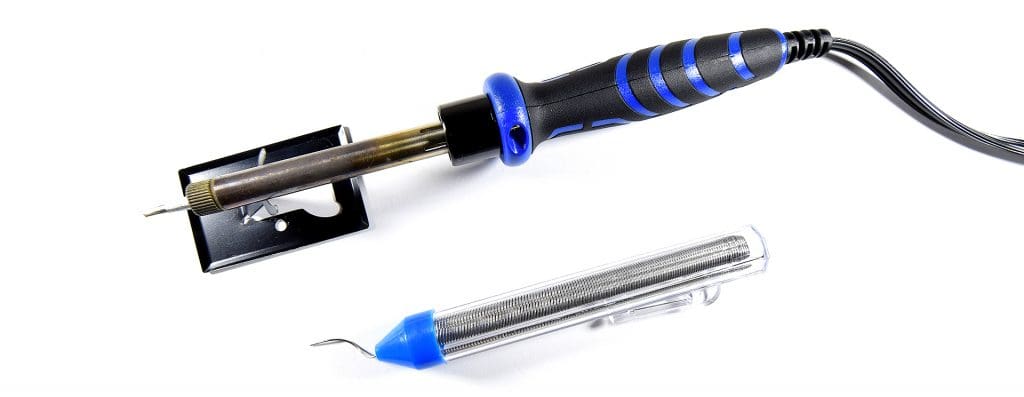
At some point you are going to need a good soldering iron. Many modules and sensors are shipped without a pin header attached. In these cases, the pin header needs to be soldered to the PCB before the device can be used.
Soldering irons are categorized by wattage. Higher wattage soldering irons are able to supply more heat, which is ideal for soldering large wires and components. For most Arduino projects a wattage around 30 to 60 watts is ideal.
Resistors
Resistors are used to make voltage dividers and RC circuits. A selection of resistors from 100 Ohms up to 100K Ohms should be enough to build most projects.

Capacitors
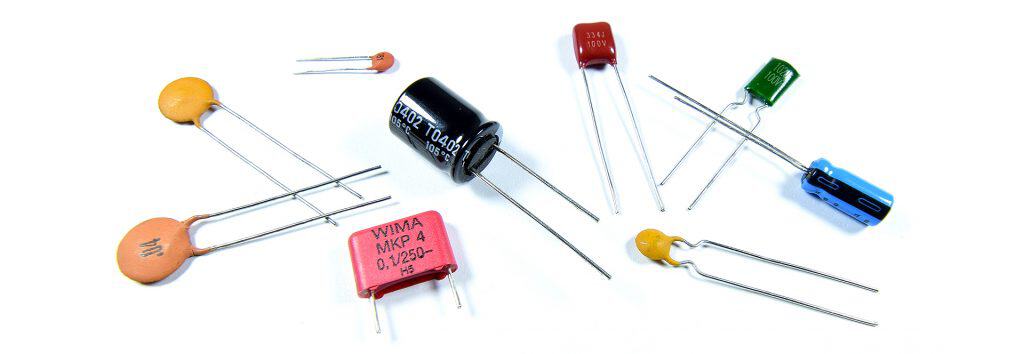
Capacitors are used to de-bounce switches, de-couple power supplies, and are also used in RC circuits. Having a range of capacitors from 470 pF up to 2,000 µF on hand will cover you for most projects.
LEDs
LED’s are another useful component to have on hand. They’re great for troubleshooting circuits and can indicate if a device is getting power or not. They’re available in a range of colors and form factors.

LCD Displays
LCD displays can be used to display sensor readings, the date and time, or anything else you can think of. This is a 16×2 character LCD:

They’re also available in a larger 20×4 size:

And a smaller 8×2 size:

Push Buttons
Push buttons are switches that allow current to flow when they’re pressed. They’re good for controlling things like LEDs, motors, and relays. This is a tactile push button:

Potentiometers
Potentiometers change their resistance when you turn the dial. They’re available in a variety of different sizes and resistance values, but 10K, 100K, and 250K Ohm are the most common:

Sensors
There is a huge variety of sensors that you can connect to the Arduino. Below are just a few examples of the most popular and well documented sensors.
The DHT11 temperature and humidity sensor:

The HC-SR04 ultrasonic range finder:

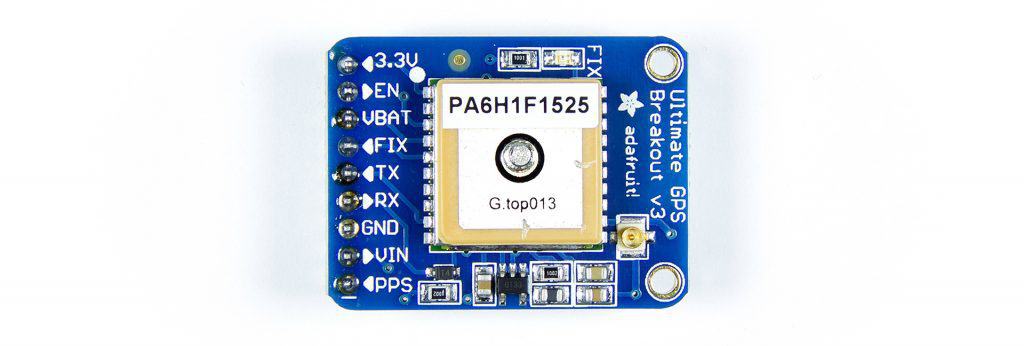
The Adafruit Ultimate GPS module:
The BMP180 barometric pressure sensor:



Is it a free / complimentary course/information website? If so, as a student would like to be a part of the same. Thanks